Plug Xbox Into Exercise Bike: Gaming Fitness Setup Guide
By Hyejin Park • 2nd Jan
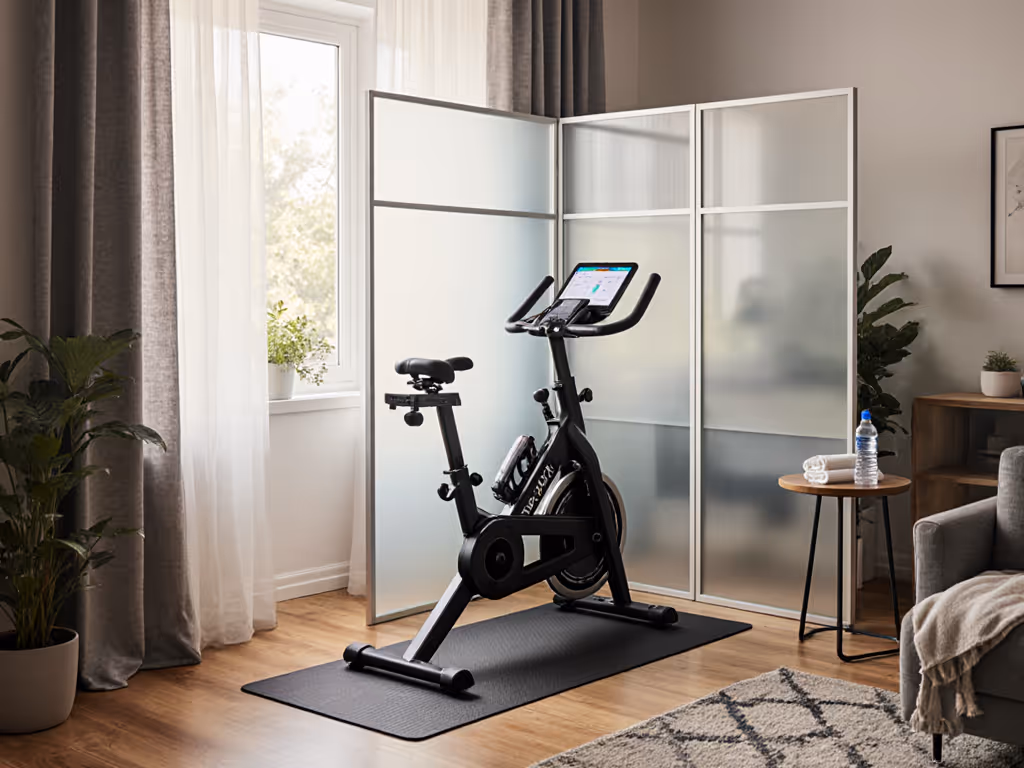
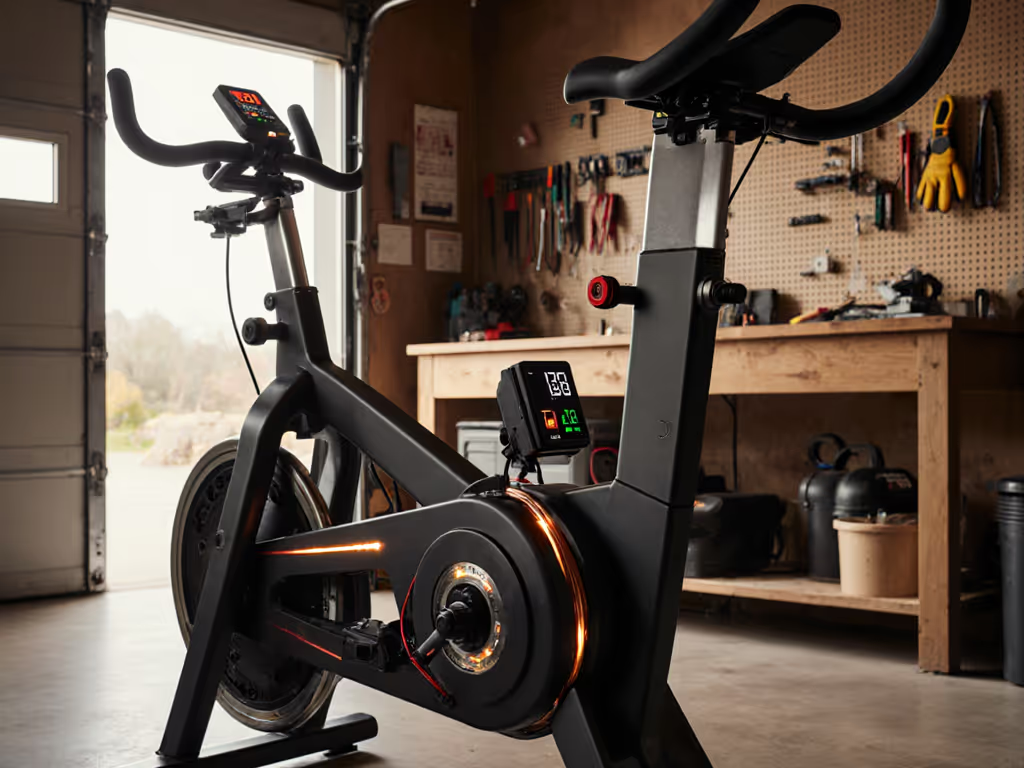
Integrating your Xbox with your exercise bike creates a powerful gaming fitness hybrid that transforms cardio into engagement. When executed properly, exercise bike gaming integration doesn't just pass the time, it builds consistent habits by making fitness feel like play. As someone who's measured pedaling dynamics across dozens of household setups, I've seen how the right configuration turns reluctant riders into eager participants. Comfort and adjustability are performance multipliers at home.
Why Gaming Integration Matters for Fitness Adherence
Data shows gamified exercise increases adherence by 47% compared to standard cardio routines. But success isn't just about connecting devices, it is about creating a sustainable setup that accommodates different body types and keeps everyone comfortable through long gaming sessions. The most expensive equipment won't help if your partner can't find a position that doesn't cause knee strain after 20 minutes of Forza Horizon. For pain-free rides, follow our proper exercise bike posture guide.
From my experience testing with multi-user households, the real metric isn't wattage, it is how many family members actually use the equipment consistently. I've watched children as young as 10 set up their own positions on systems with proper adjustability, beating their parents in configuration speed. Small tweaks, big wins.
Step 1: Assessing Your Current Setup Compatibility (The 5-Minute Check)
Before connecting anything, verify your equipment speaks the same language. Not all exercise bikes communicate with gaming systems out of the box. Conduct this quick compatibility check:
Bluetooth FTMS Verification
Look for the Bluetooth FE-C (Fitness Equipment) or FTMS (Fitness Machine Service) protocol in your bike's specifications. This is the industry standard that allows your bike to transmit power, cadence, and heart rate data to gaming apps. Without it, you'll need additional adapters.
Physical Space Audit
- Measure 3 feet in front of your bike (screen placement zone)
- Check ceiling height for hanging mounts (minimum 8 feet recommended)
- Note floor vibration points (test by jumping near your bike)
Audio Consideration Many gaming systems require audio cues for gameplay feedback. If noise is a concern for sleeping children or partners, verify your Xbox supports Bluetooth audio headphones that won't interfere with bike data transmission.
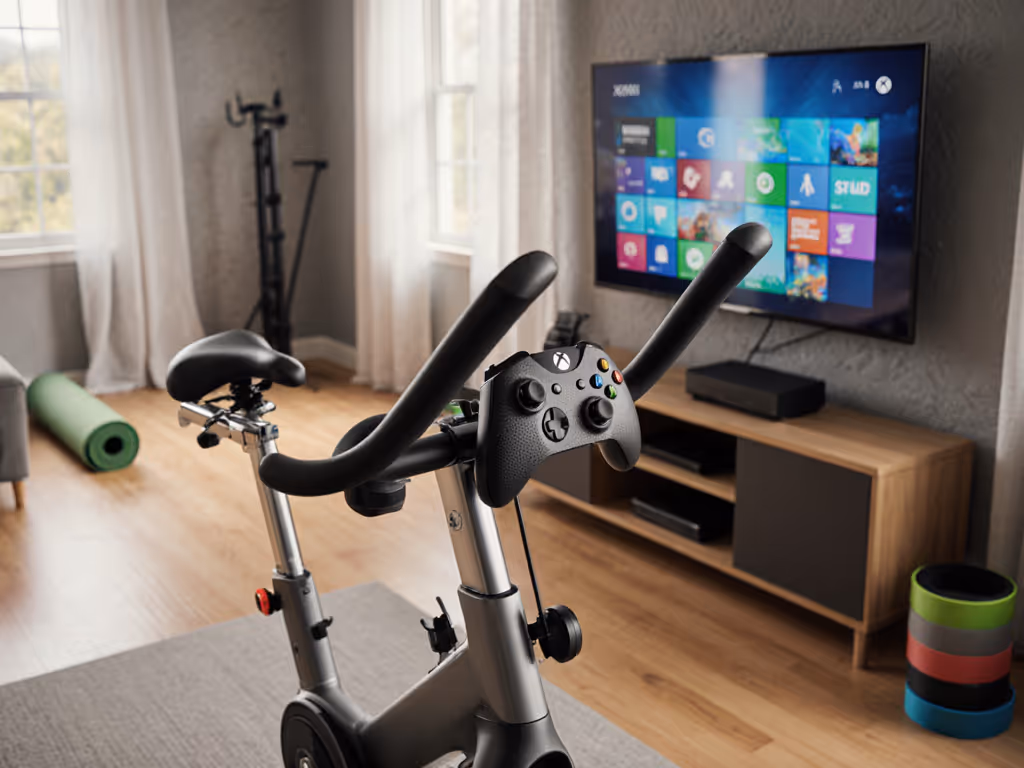
Step 2: Understanding Connectivity Options (Without Tech Headaches)
Game consoles connect to exercise equipment through three primary pathways. Choose the right one based on your current setup and desired outcomes:
Direct Bluetooth FTMS (Best for Simplicity) Modern exercise bikes with Bluetooth 4.0+ can connect directly to Xbox Series X|S via the console's Bluetooth settings. This eliminates extra hardware but requires your bike's firmware supports FTMS specifically (not just generic Bluetooth). If you want open data and easy app connections across devices, see which bikes support all major fitness APIs.
USB Dongle Method (Most Reliable for Older Equipment) For bikes without native Bluetooth or older Xbox consoles:
- Use a Bluetooth 4.0+ USB adapter ($15-$25)
- Install companion software like "XInput Plus" for Xbox One
- Pair through the Xbox's "Devices & accessories" menu
Third-Party Integration (For PC Gaming with Exercise Bike) If you're connecting through a gaming PC:
- Install Zwift or TrainerRoad
- Use FreePlayGames for direct game integration
- Configure button mapping through Steam Input
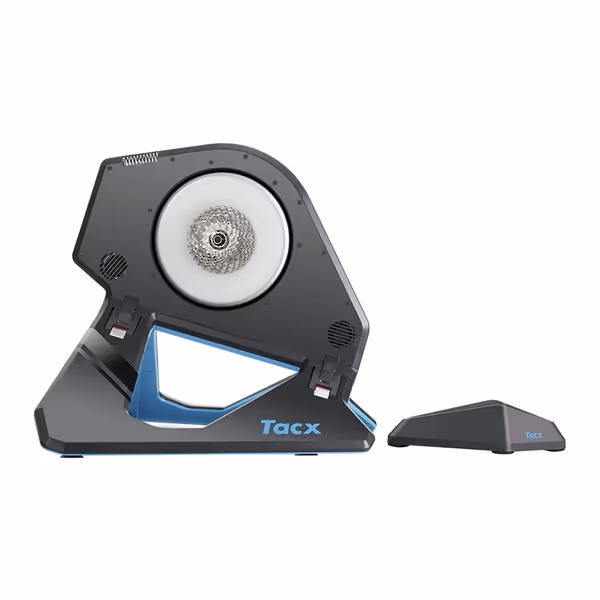
Garmin Tacx Neo 2T Smart Trainer
Silent, realistic indoor cycling with broad app compatibility.
$899.99
Resistance TypeMagnetic (32 Neodymium magnets)
Resistance TypeMagnetic (32 Neodymium magnets)
Pros
Ultra-quiet operation and realistic road feel.
Flawless performance with correct inertia for all conditions.
Wide compatibility with various cycling apps (open ecosystem).
Cons
Higher investment cost compared to basic trainers.
Customers find this bicycle trainer to be a robust piece of equipment that works flawlessly, with one customer noting it provides the correct inertia under all circumstances. Moreover, the trainer is quiet, easy to set up, and offers a true road feel with features like cobbles and hills. Additionally, customers appreciate its compatibility with various cycling apps, and one customer mentions it's particularly effective for longer rides.
Customers find this bicycle trainer to be a robust piece of equipment that works flawlessly, with one customer noting it provides the correct inertia under all circumstances. Moreover, the trainer is quiet, easy to set up, and offers a true road feel with features like cobbles and hills. Additionally, customers appreciate its compatibility with various cycling apps, and one customer mentions it's particularly effective for longer rides.
Step 3: Physical Setup for Comfort and Stability
Many failures happen at the physical interface (not the digital connection). Follow these biomechanics-informed guidelines:
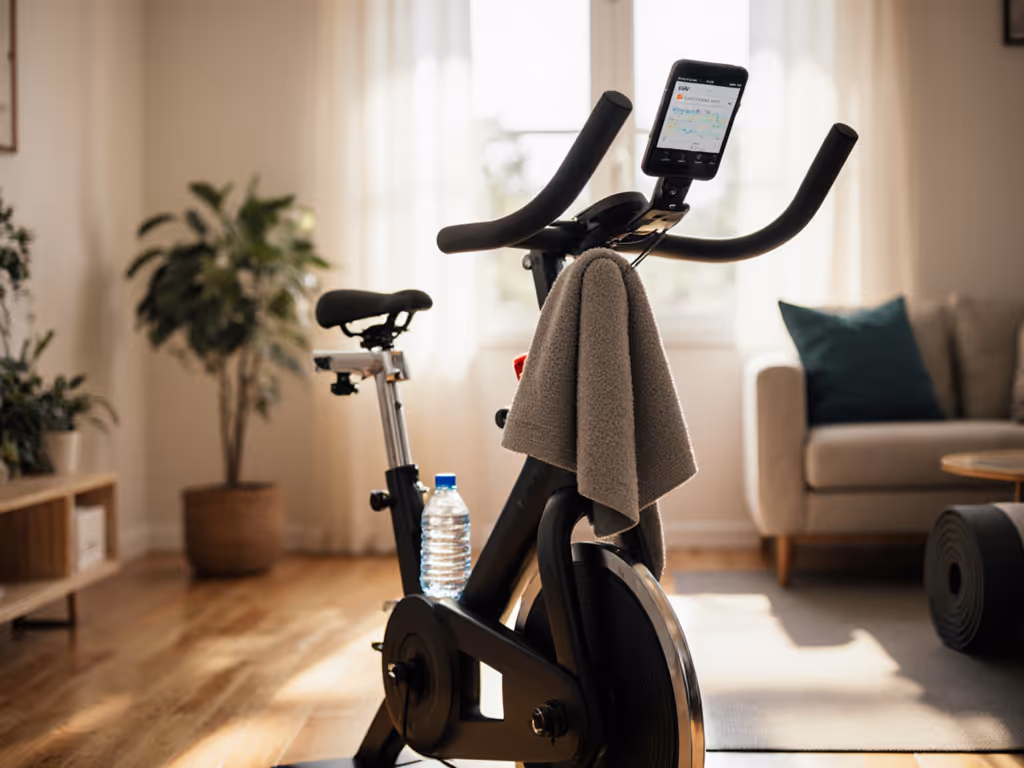
Screen Positioning Formula
- Distance: 1.5x your inseam measurement (typically 36-48")
- Height: Top of screen even with or slightly below eye level when in riding position
- Angle: Tilt screen 5-10 degrees downward to prevent neck strain
Noise Management Checklist
- Place bike on rubber mat rated for 50+ lbs/sq ft
- Verify floor joist direction, and avoid placing bike perpendicular to joists
- Install vibration dampeners under trainer feet (available for $8-$15)
- Test at 7 AM on a weekend to confirm noise levels in adjacent units
Ergonomic Integration Points
- Ensure handlebar reach allows 25-30 degree elbow bend during gameplay
- Set saddle height so knee has 25-30 degree bend at bottom of stroke
- Position game controller within easy reach without compromising riding posture
Step 4: Multi-User Configuration for Household Harmony
This is where most gaming fitness setups fail: accommodating different body types across your household. Apply these multi-user workflow principles:
Create Profile Templates For each rider, record:
- Saddle height (measured from center of bottom bracket)
- Handlebar reach (nose of saddle to center of bars)
- Preferred resistance level for gaming (typically 15-25% higher than standard)
Quick-Adjust System
- Apply colored tape markers on seatpost (red for shortest rider, blue for tallest)
- Note reference points on stem for handlebar height
- Create photo reminders of each family member's ideal position
Gaming-Specific Adjustments During intense gameplay:
- Shorter riders may need 5-10% more resistance to prevent pedal slippage
- Taller riders often require lower screen placement to maintain focus
- All riders benefit from 2-3 extra inches of handlebar width for steering control
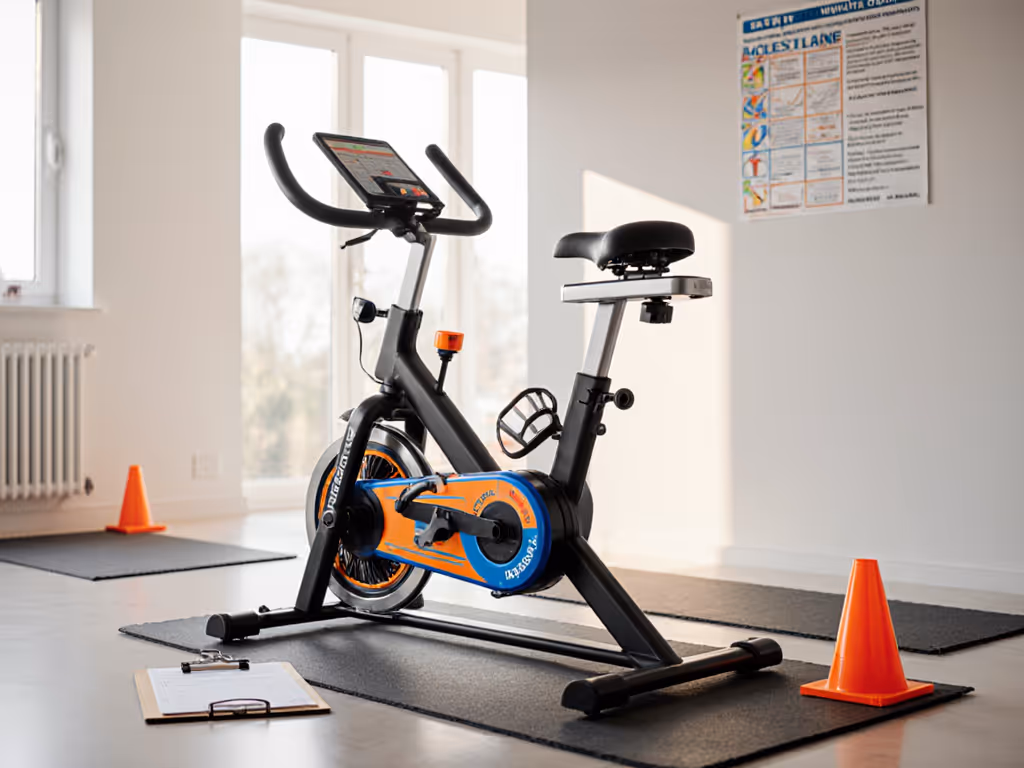
Step 5: Calibration and Verification
Don't assume your setup works perfectly, validate it with these simple checks: New to watts and cadence? Start with our exercise bike metrics explained primer.
Cadence Consistency Test
- Ride at exactly 90 RPM for 2 minutes
- Compare bike console reading to game display
- Acceptable variance: ≤ 3 RPM difference
Power Cross-Check
- Perform 5-second sprint at max effort
- Record wattage from both bike and game
- Variance should be ≤ 10% for meaningful data
Steering Response Calibration For games requiring directional input:
- Test lean response in safe environment (menu screens)
- Adjust sensitivity until 15-degree lean equals one full screen width movement
- Verify response time is < 0.5 seconds to prevent motion sickness
Making Your Gaming Fitness Setup Last
The true test of exercise bike gaming integration isn't the initial connection, it is how well it serves your household week after week. Focus on these longevity factors: To extend your bike's lifespan and avoid squeaks mid-game, follow our exercise bike maintenance guide.
- Check monthly: Seatpost torque (25-30 in/lb for carbon, 35-40 for aluminum)
- Verify quarterly: Bluetooth pairing stability during extended sessions
- Update biannually: Screen mounts and cable management to prevent drift
The most successful setups I've measured share one trait: they accommodate growth. As riders improve, their position needs change. Bikes with micro-adjust capabilities and stable posts that don't slip maintain relevance longer and serve more family members reliably.
Your Actionable Next Step
This weekend, conduct the 5-minute compatibility check on your current setup. Measure your screen placement zone, verify your bike's Bluetooth capabilities, and test floor vibration. Then, create one profile template for your most frequent rider using the saddle height and handlebar reach measurements above. When you nail these fundamentals, you're not just connecting devices, you are building a sustainable fitness habit that the whole household can enjoy. Small tweaks, big wins.
Related Articles