Exercise Bike Metrics Explained: Stop Guessing Power Output
By Diego Santos • 3rd Oct
If you've ever stared at your bike's screen wondering whether "250 watts" means you're crushing it or barely coasting, you're not alone. Exercise bike metrics explained simply (without the jargon overload) is exactly what most indoor riders need. Forget racing data; what really matters is cycling performance tracking that fits your quiet apartment life, helps you build consistent habits, and actually shows progress. Let's cut through the noise and focus on what moves the needle for real people in small spaces.
Why Watts Beat Resistance Numbers Every Time
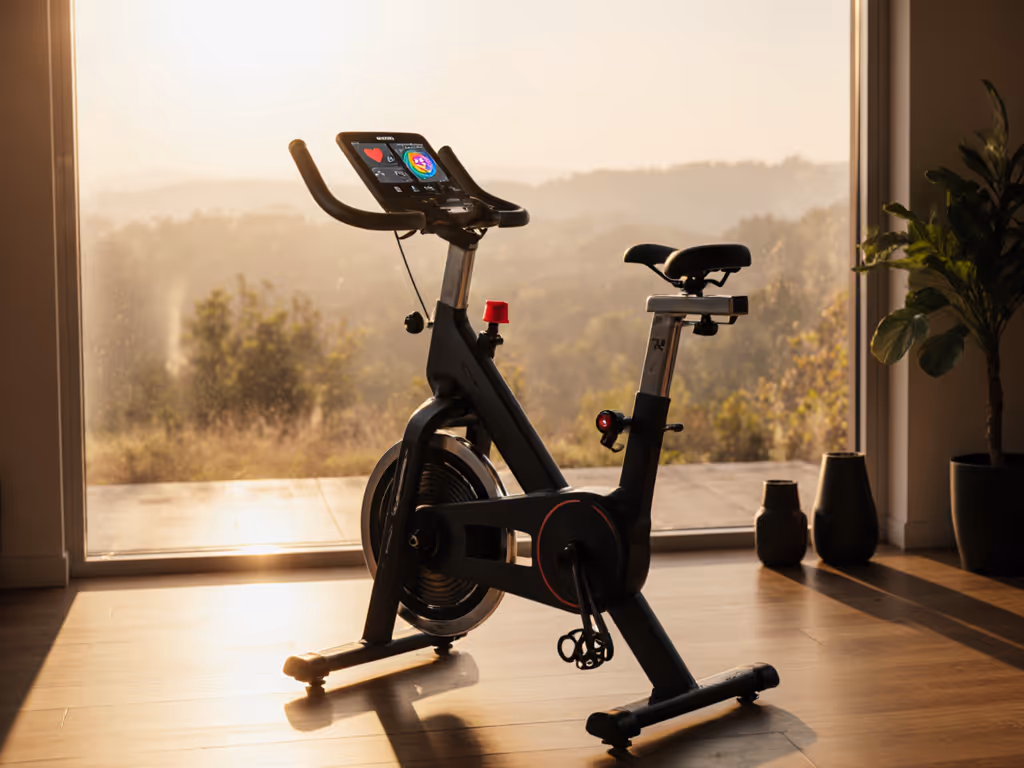
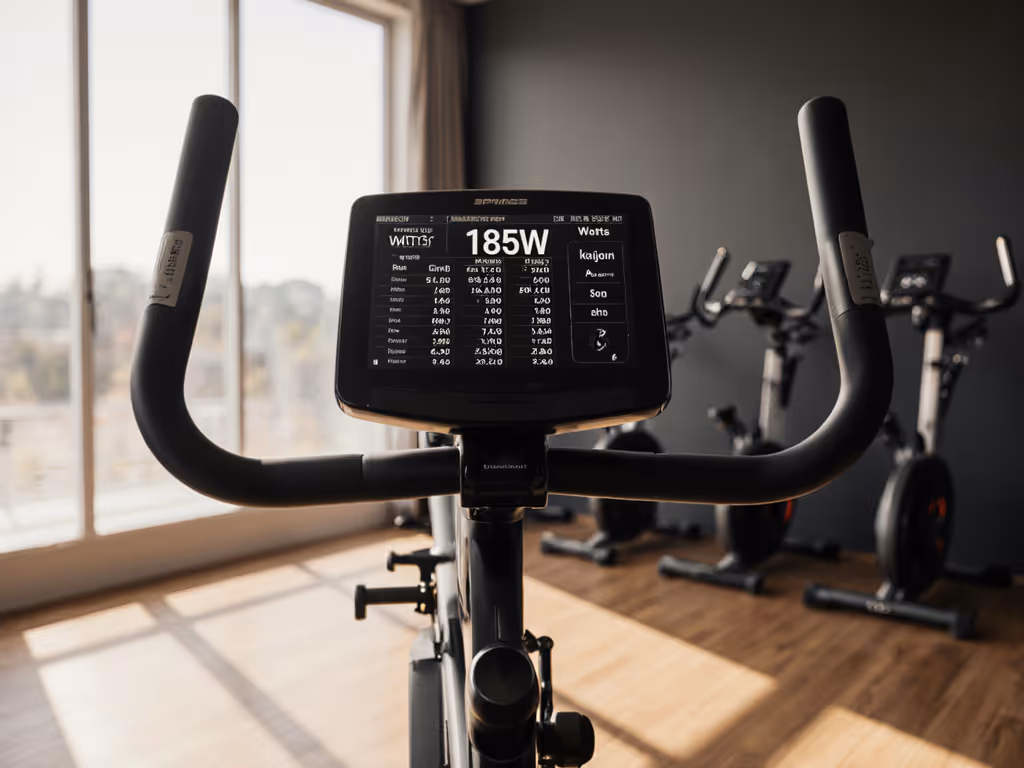
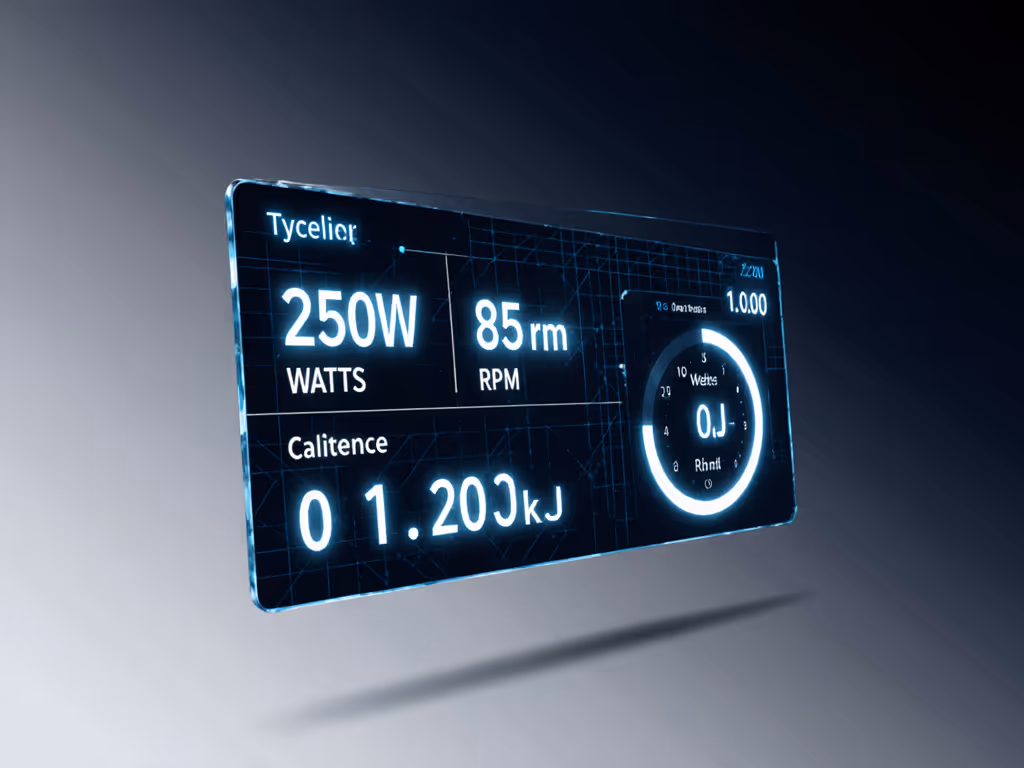
Resistance levels (1-100) are arbitrary. One bike's "level 10" might feel like another's "level 50." Watts cut through that confusion. Power output cycling measures your actual effort (how hard you push the pedals and how fast), regardless of resistance labels. When you see watts rise, you know you're working harder. When they drop, you're easing off. No guesswork.
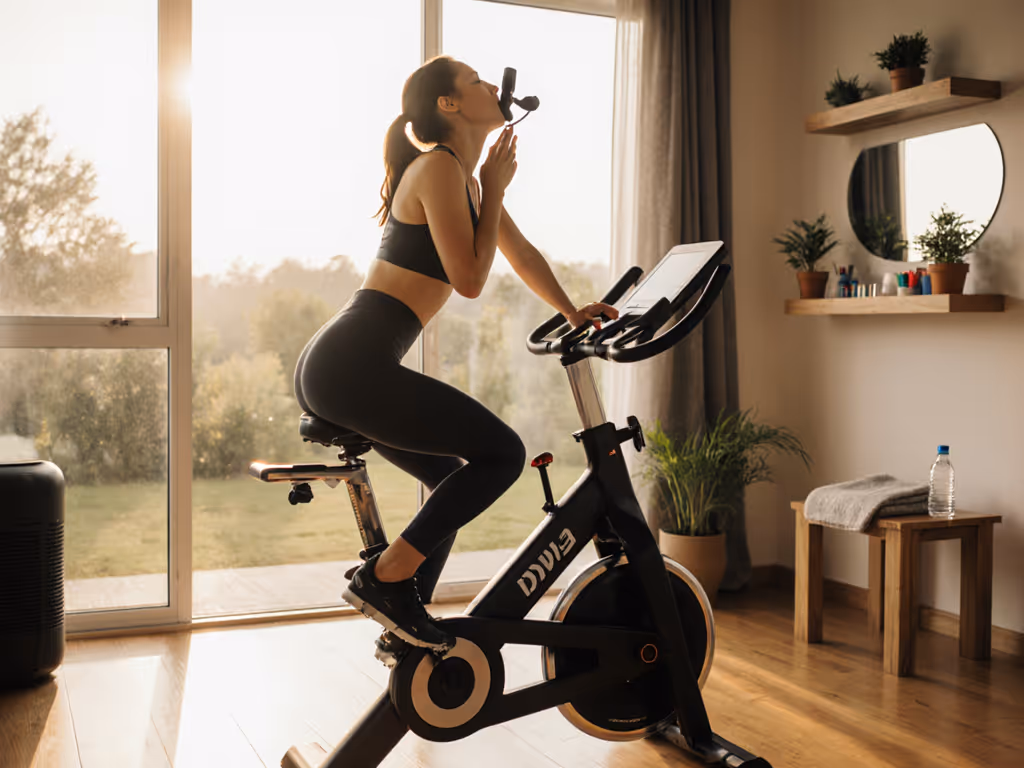
Here's the quiet rider's advantage: Watts help you control noise. Pedaling at 100 watts with moderate resistance creates less vibration than 100 watts at max resistance (which rattles floors). Watts vs resistance isn't just about performance; it's about respecting sleeping kids or thin walls. For a deeper dive into resistance systems and quiet operation, read our magnetic vs friction resistance. Start small: Aim for 80-120 watts for steady-state rides. Notice how smoothly your bike runs? That's your cue to build consistency, not crank resistance until the frame shudders.
Defaults beat willpower. Set your "quiet zone" target (e.g., 90-110 watts) and stick to it for 3 rides. No decisions needed.
How to Actually Use Cadence (Without Overcomplicating It)
Cadence (RPM) is simply how fast you spin. Too slow (<60 RPM), and you strain joints. Too fast (>100 RPM), and you bounce on the seat (hello, upstairs neighbor complaints). Understand cadence as your rhythm partner, not a dictator.
Your quiet-cadence sweet spot: 75-85 RPM. Why? It's smooth, joint-friendly, and minimizes vibration. Test it now: Ride at 80 RPM for 2 minutes. Feel stable? Now drop to 60 RPM at the same watts. Hear the creaks? That clunk isn't just annoying; it's wasted energy. Watts vs resistance shifts here: To maintain 100 watts at 80 RPM, you'll need moderate resistance. At 60 RPM, you'd need higher resistance to hit 100 watts, and that's what rattles floors.
My neighbor stalled for years staring at cadence numbers. We ignored RPM targets, set his bike to auto-resistance (so watts stayed steady), and locked cadence between 75-85. No more drama. Just four quiet weeks later, his streak was unbroken.

What Kilojoules (kJ) Really Mean for Your Goals
Kilojoules (kJ) measure total work done - like a "miles traveled" counter for effort. Skip the calorie myths: 1 kJ ≈ 1 real calorie burned (not the inflated app guesses). If your ride shows 350 kJ, you burned roughly 350 calories. Simple.
Why this matters for small-space riders:
- Track progress without subscriptions: Did Tuesday's 300 kJ ride feel easier than last week's? That's fitness gains (no $40/month analytics needed).
- Quiet consistency over max effort: A daily 200 kJ ride (quiet, sustainable) beats a weekly 600 kJ sprint (rattling floors, inconsistent).
- Avoid burnout: If your goal is 1,400 kJ/week, hit it with seven 200 kJ rides, not two brutal 700 kJ sessions that leave you sore and skipping days.
I trained a neighbor who'd stalled for years. We ditched the bundled screen, paired a humble tablet, leveled the bike on rubber pucks, and set three default workouts. No decisions, no drama. Four quiet weeks later, streak intact, he bought pedals, not subscriptions. Momentum thrives when setup friction disappears.
How to Find Your Baseline (Without Fancy Tests)
Forget 20-minute FTP tests. You need a realistic benchmark for your rides:
- Ride easy for 10 minutes at your quiet cadence (75-85 RPM). Note your average watts.
- Add 30-50 watts - this is your sustainable effort zone (e.g., 120-150 watts if you're newer).
- Use this range daily: Aim to hold it for 20+ minutes. Progress = staying consistent, not hitting new maxes every ride.
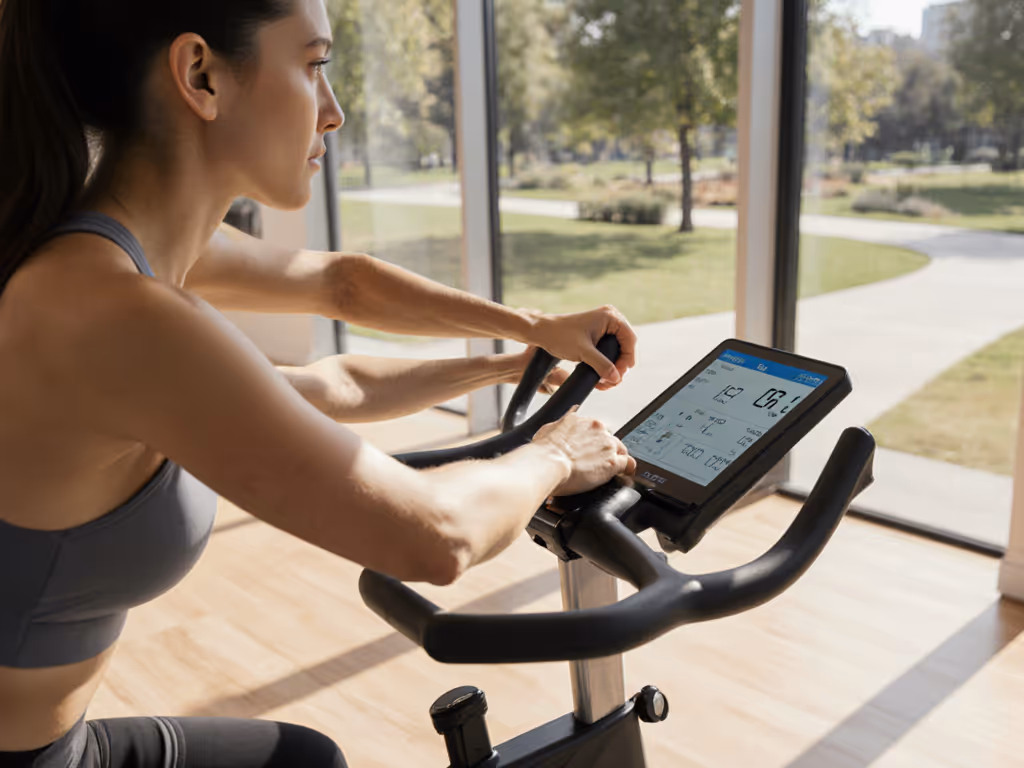
This works because power output cycling accuracy matters less than consistency. A basic bike with +/-5% power drift still shows trends: If your average watts creep up at the same perceived effort, you're getting fitter. No lab-grade gear required.
Why Heart Rate Zones Are Optional (Not Essential)
Heart rate zones cycling gets hyped, but it's noisy for small-space riders. HR lags effort (takes 60+ seconds to adjust), varies with sleep/stress, and often spikes after you've disturbed the household. Watts give instant, actionable feedback.
That said: HR is useful only if you:
- Ride the same time daily (e.g., 6 AM, same stress level)
- Use it to spot overtraining (e.g., HR 10+ BPM higher than normal at same watts)
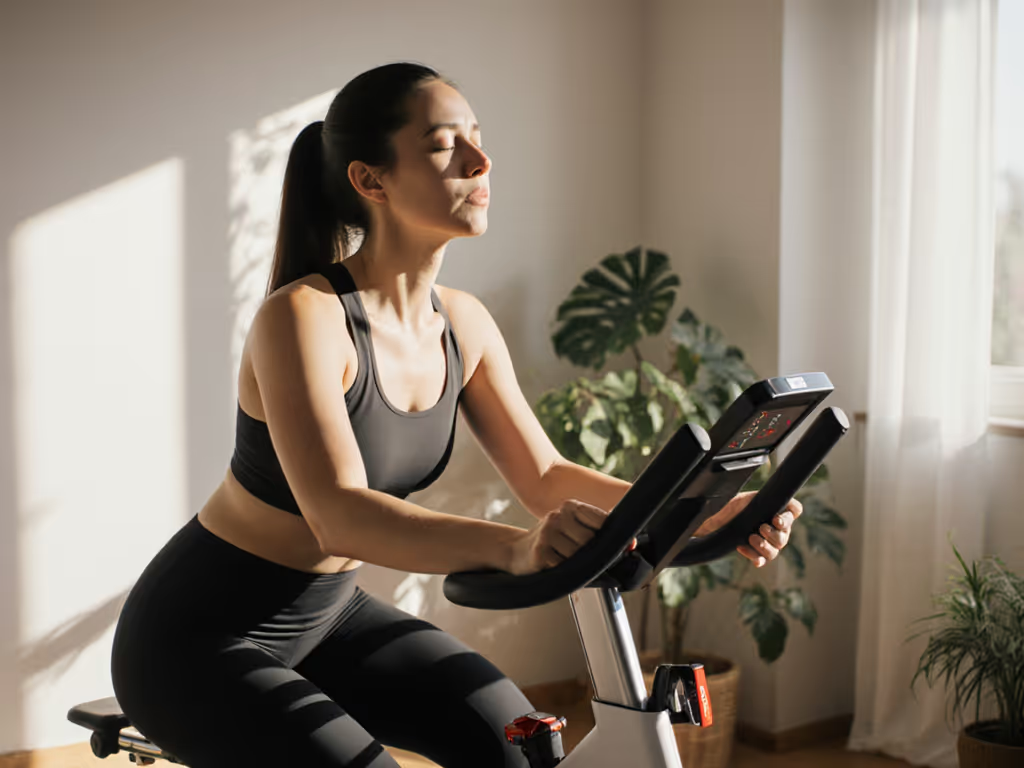
Otherwise, skip it. Watts and kJ tell the full story for habit-building. Start small, stay quiet, and compound the wins.
Your Next Step: Track What Actually Moves the Needle
You don't need more metrics. You need to own the ones that matter:
- Watts = your daily effort dial (control noise/vibration)
- Cadence = your smoothness gauge (75-85 RPM for quiet rides)
- kJ = your progress scoreboard (no guesswork, no subscriptions)
Stop overcomplicating. Set one default target (e.g., "hold 100 watts for 20 min"). Ride there 3x this week. Notice how simple consistency builds momentum? That's the magic. Defaults beat willpower, especially when the rest of life feels chaotic.
Further Exploration:
- Try a no-screen ride: Focus only on smooth cadence and steady breathing. Compare how it feels to your watt-targeted rides.
- Export your kJ data to a free app. Watch real progress pile up (no paywall needed).
Related Articles