VR Exercise Bikes: Quiet Setup for Any App
By Diego Santos • 3rd Mar
You've decided: VR exercise bikes are your path to fitness at home. But you're imagining neighbors pounding the walls, a partner nudged awake at dawn, or equipment that demands you choose one app and stay loyal forever. The good news is that neither of those futures is inevitable. Virtual reality cycling equipment thrives on quiet, app-agnostic setups that live small and run gentle, if you know where to start.
I trained a neighbor once who'd stalled on fitness for years. His apartment was tight, his mornings were early, and he'd bought a fancy connected bike that locked him into a single ecosystem. We ditched the bundled screen, paired a humble bike with a standard drivetrain, added rubber isolation pads beneath the frame, and gave him three default workouts (no decision fatigue, no vendor lock-in). Four weeks later, his streak was intact and the complaints from downstairs had disappeared. That's the quiet revolution: setup friction disappears when you choose right from the start.
This guide walks you through building a VR cycling platform integration that fits your space, respects your neighbors, and keeps you moving on whatever app you choose to use. No drama. No subscriptions that snowball. Just momentum.
Step 1: Measure Your Space and Sound Reality
Before you buy anything, be honest about your environment. Apartment floors, shared walls, and sleeping children change the equation.
Room Dimensions and Clearance
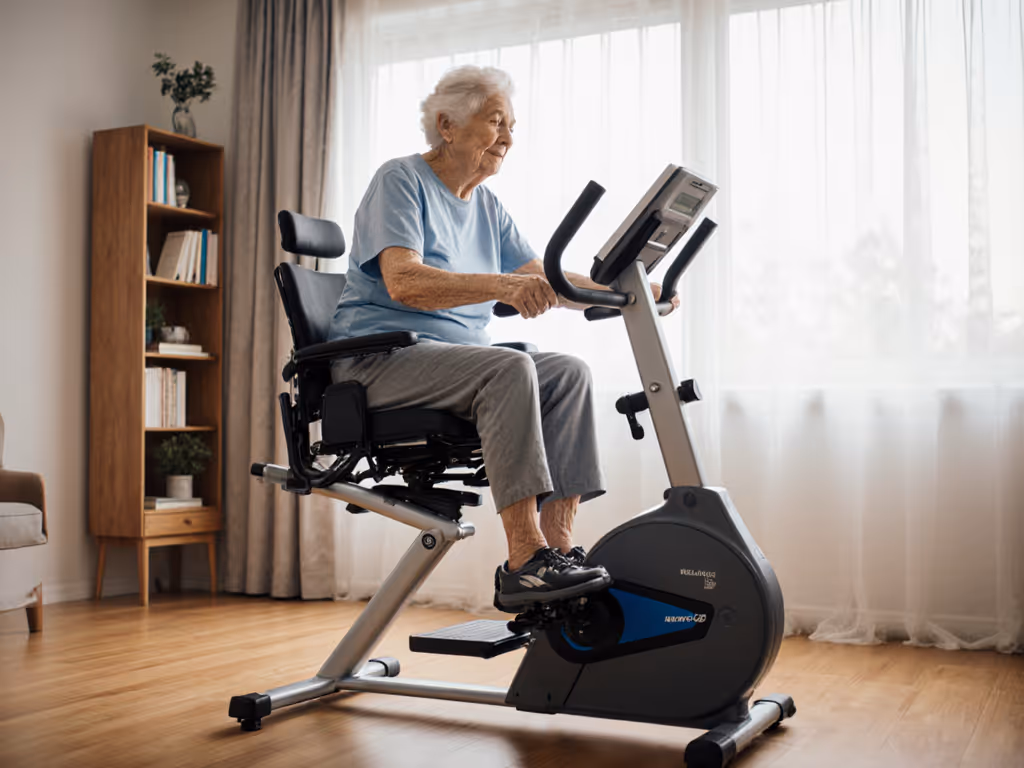
Most exercise bikes occupy roughly 4 feet by 2 feet. Add 18 inches around each side for airflow and safe movement. If you're tighter than that, consider a recumbent or a folding frame. Measure twice. Many bikes are heavier than they look in photos (205 pounds is not uncommon), and moving them across hardwood or apartment flooring after delivery is nobody's idea of quick.
Vibration and Noise Baseline
Marketing claims about "near-silent operation" rarely survive contact with reality. Real bikes create vibration through flywheel rotation, pedal pressure, and frame resonance. Hardwood floors amplify everything. Here's the real talk: magnetic resistance is quieter than belt drive or air; immersive cycling experience doesn't require a loud machine.
Test this before committing: stand in your neighbor's space (or a friend's apartment similar to yours). Listen to their fridge, their HVAC, their ambient noise baseline. Your target is to stay below that level during early-morning rides. That usually means under 75 decibels (think quiet conversation volume).
Isolation Strategy
Rubber isolation pads under the front and rear feet drop vibration transmission by 40-60%. They cost $20-40 and are your first line of defense. Pair them with a yoga mat or thin rubber mat underneath. Avoid wooden platforms; they resonate and carry sound down.
Step 2: Choose an App-Agnostic Bike
Vendor lock-in is real. Your neighbor's problem wasn't the bike, it was the invisible leash to one platform. You want VR headset compatibility that means Bluetooth connectivity (standard Bluetooth Low Energy and ANT+ protocols), not a proprietary console that talks only to one app. For deeper technical details on open protocols and data interoperability, read our guide to bikes that support all fitness APIs.
What "App-Agnostic" Means
A truly open bike works with:
- Zwift (racing, group rides, structured workouts)
- TrainerRoad (interval training, cycling plans)
- Peloton App (classes, if you choose that)
- Apple Fitness+ (ecosystem integration)
- Kinomap (outdoor video routes)
- Strava (tracking and community)
- Any app that speaks FTMS (Fitness Machine Service) or ANT+ FE-C (trainer control protocol)
A bike with a built-in screen can still be app-agnostic if it has Bluetooth and allows manual input. A bike without a built-in console and forced Wi-Fi is almost always more flexible.
Key Specs to Verify
Resistance type: Magnetic resistance is quietest. Air based (fan) resistance is louder but very durable. Belt drive can creak; friction is cheapest but wears fast.
Connectivity: Bluetooth Low Energy (BLE) and ANT+ support. Check the spec sheet. If it lists only Wi-Fi or a proprietary protocol, pass.
Power meter accuracy: Look for +/- 3% or better. This matters if you plan to follow structured workouts or race online. Entry-level bikes may drift; mid-range to premium bikes include power meters.
Pedal compatibility: Standard 9/16'' pedal threads mean you can swap pedals easily. SPD clips are common; look for adjustable toe cages or flat pedals if you're learning.
Weight capacity and adjustability: A good bike fits riders 5'0" to 6'4" with quick seat and handlebar adjustments. If you share the bike with a partner or family, micro-adjustability saves time.
Reference Points from Real Testers
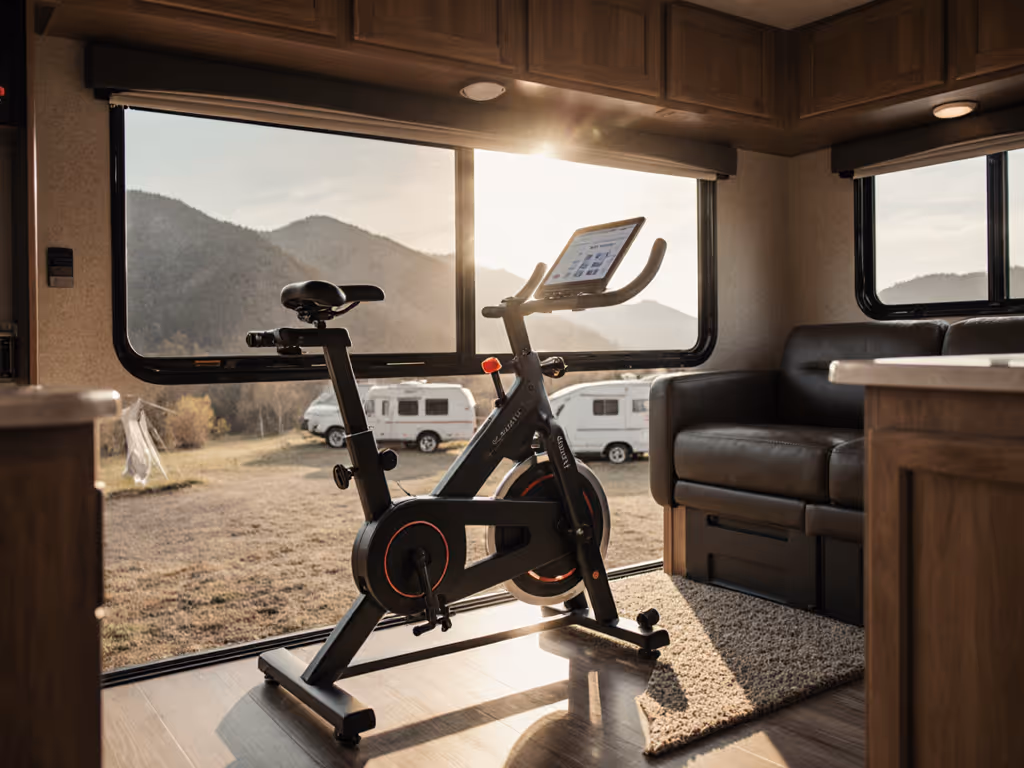
The NordicTrack X24 earned high marks for incline and decline simulation, plus iFIT compatibility, though it's heavy (205 lbs) and the large screen locks you into their ecosystem if you rely on it. The Echelon EX-8s offers 32 resistance levels and a rotating screen, but requires a paid membership and has a smaller user base for app-agnostic rides. The Concept2 BikeErg is lighter (68 lbs), air-resistant, and pairs beautifully with Zwift and TrainerRoad because it has no screen at all, just clean Bluetooth. The Bowflex VeloCore stands out for its leaning feature (engages core) and the JRNY app's variety, though it's still platform-dependent.
For quiet setups in shared spaces, the lighter, screen-free options (Concept2 BikeErg, entry-level Echelon models) often win. Defaults beat willpower, and the simplest setups are the ones people stick to.
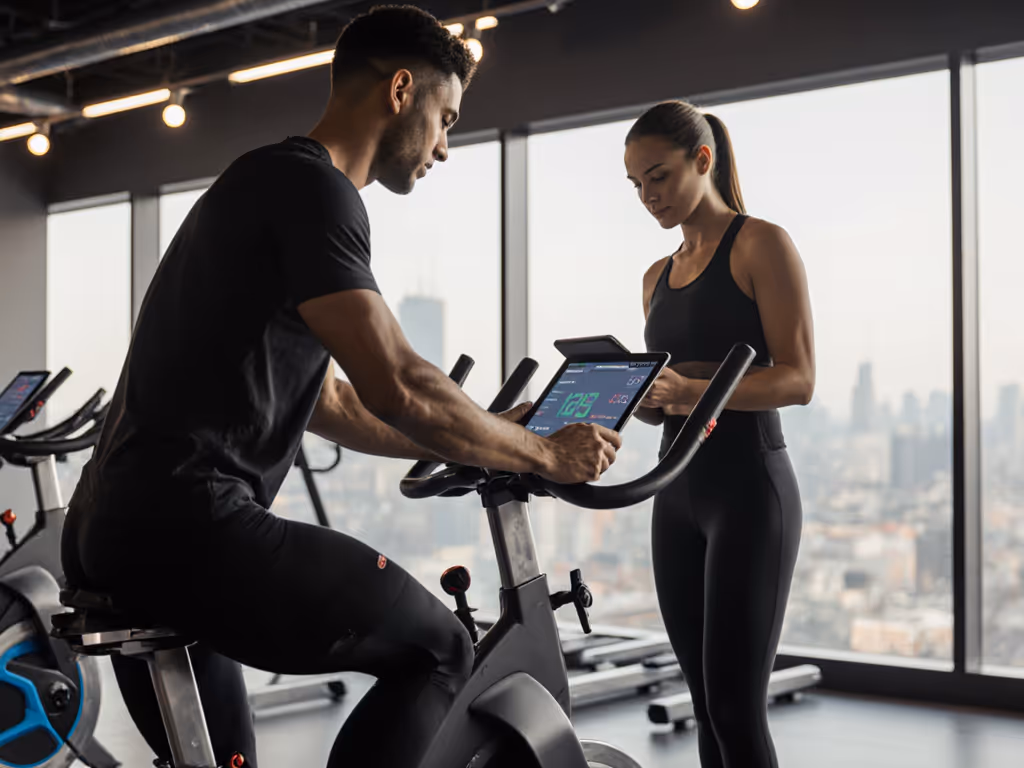
Step 3: Establish VR Headset Compatibility
Motion sync cycling through VR isn't yet mainstream, but standard cycling apps are trending toward immersive visuals on tablets or secondary screens. This is where app-agnostic setup shines.
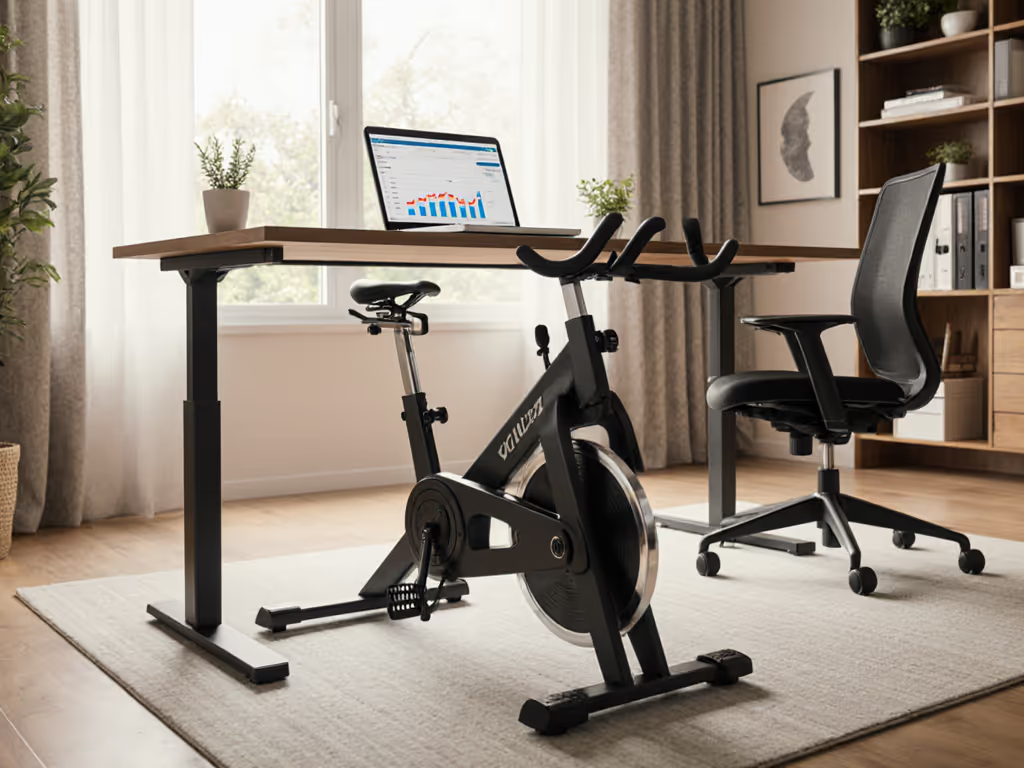
Tablet or iPad Setup
Most riders pair a bike with a 10 to 12 inch tablet mounted on the handlebar or a small stand in front. This gives you Zwift's 3D worlds, Kinomap's real-road footage, or Peloton's video classes without buying a bike-specific console.
Mounting considerations:
- Use an articulating arm, not a rigid fixture
- Keep the tablet at eye level or slightly downward
- Ensure Bluetooth range (10 to 15 feet minimum)
- Choose a non-reflective screen or use a hood to reduce glare during bright morning rides
Headset Considerations
True VR cycling (using a headset like Meta Quest or Apple Vision) is experimental. Apps are limited, and motion sickness is real if the bike's motion doesn't match the virtual world perfectly. For now, a standard tablet or monitor running a 2D app is more practical and less isolating (you can still hear household sounds, which matters for safety).
If you do want VR exploration, Zwift's 3D worlds and Kinomap's 360° footage videos are the furthest along. To elevate immersion without locking into one ecosystem, try our immersive cycling setup guide. Pair them with a second screen so a partner can see what you're doing (safety and engagement).
Audio and Bluetooth
Bike-mounted speakers or budget earbuds work fine. Expensive noise-canceling headphones risk isolation and aren't necessary indoors. Keep the volume moderate. Your household will thank you, and you'll actually hear if something's wrong with the bike.
Step 4: Build Your Default Routine
Complexity kills consistency. This is where VR cycling platform integration gets practical: pick your app, set three default workouts, and rotate them without thinking.
The Three-Workout Framework
Workout A: Steady state (30–45 minutes, Zone 2, conversational pace)
- Use Zwift's "Just Ride" mode or TrainerRoad's free workouts
- Same time, same structure, every Monday/Wednesday/Friday
- Minimal decision load
Workout B: Structured intervals (30–45 minutes, mixed zones)
- Pick one TrainerRoad plan or Zwift race group
- Commit to four weeks
- Let the app handle the pacing
Workout C: Exploration or rest-day active recovery (20–30 minutes)
- Kinomap scenic routes, Peloton's casual classes, or just freeride on Zwift
- Lower intensity, higher engagement
- Breaks the routine without breaking the streak
Rotate them in a simple weekly pattern. No re-evaluation, no "what should I do today?" The mental friction of choosing drops to zero.
Data Syncing and Ownership
Most apps export workouts to Strava and Apple Health automatically. Check your bike's and app's privacy settings:
- Strava: Control what's public; keep home workouts private if you're concerned about schedules
- Apple Health: Local storage; syncs to your devices; you own the data
- Garmin Connect: Good export option if you wear a Garmin watch
This matters long-term. If a bike brand folds or an app sunsets, your data should go with you.
Step 5: Design Your Quiet-Hour Protocol
Your bike is quiet only if you use it quietly. Small habits compound.
Pre-Ride Checklist (2 minutes)
- Isolation pads in place? Spin the pedals gently by hand. Feel any vibration? Adjust the pads.
- Pedals tightened? Loose pedals creak. A simple hex key check weekly prevents most squeaks.
- Resistance smooth? Drag should feel consistent. Rough spots mean dust or misalignment; clean with a dry cloth.
- Flywheel guard secure? If your bike has a cover, check it's not loose (creates noise).
Timing and Communication
Early morning is quieter, but tell your household when you ride. Hearing a bike at 5:50 a.m. with warning is tolerable; surprise noise at 5:50 a.m. is a neighbor complaint waiting to happen.
If you're in an apartment:
- Ride between 6:00 a.m. and 8:00 p.m.
- Skip the heaviest intervals during typical quiet hours (after 10 p.m. or before 6 a.m.)
- Go easy during early morning; save intensity for lunch or evening
Maintenance for Silence
A well-maintained bike is a quiet bike. Monthly:
- Wipe the flywheel and frame with a dry cloth
- Check belt or chain tension (if applicable)
- Listen for new squeaks and address them immediately
Sweat corrosion is real. A quick wipe after every ride prevents rust and keeps bearings silent. Thirty seconds of care beats an hour of troubleshooting later. Get step-by-step help from our exercise bike maintenance guide.
Step 6: Execute Your First Ride
You've chosen your bike, mounted your tablet, set your defaults, and noise-tested your space. Now start.
Onboarding Sequence (Under 1 Hour)
- Assemble the bike (follow the guide, don't skip steps, ask for help if it's a two-person job)
- Install isolation pads and mat (5 minutes)
- Adjust seat, handlebars, and pedals for your fit (10 minutes; use video form guides for your bike model)
- Download your chosen app and create an account (sign up, choose a password you'll remember)
- Pair the bike via Bluetooth (turn on the bike, open the app, follow prompts; usually one tap)
- Take a 10–15 minute test ride on your Workout A default
- Check the sync (did the workout show up in your app? In Strava?)
- Store everything (clean the bike, put the tablet in its stand or away, reset for tomorrow)
Don't aim for perfect. Aim for done. A rough first ride beats a beautiful setup that never launches.
Your Quiet, App-Agnostic Future
You now have the foundation: a quiet bike, a clear app path, three default workouts, and a maintenance habit. No vendor lock-in. No mysterious noise complaints. No decision paralysis.
Start small, stay quiet, and compound the wins. Consistency beats complexity; the best setup is the one you'll use quietly and often. In four weeks, you won't remember the friction of setup, you'll just notice the streak, the stability, and the fact that your neighbor hasn't knocked on the door.
Your Next Step
Choose your bike today. Not tomorrow, not after more research, today. Use the specs and comparison points above to narrow it to three candidates. Then check real reviews from actual users in communities you trust. Once you've picked, set a delivery date and commit to your first three default workouts. The sooner you ride, the sooner you build the habit that sticks. Momentum starts with a single decision to keep it simple.
Related Articles