Immersive Cycling: Quiet Home Setup Beyond Screen Classes
By Diego Santos • 26th Oct

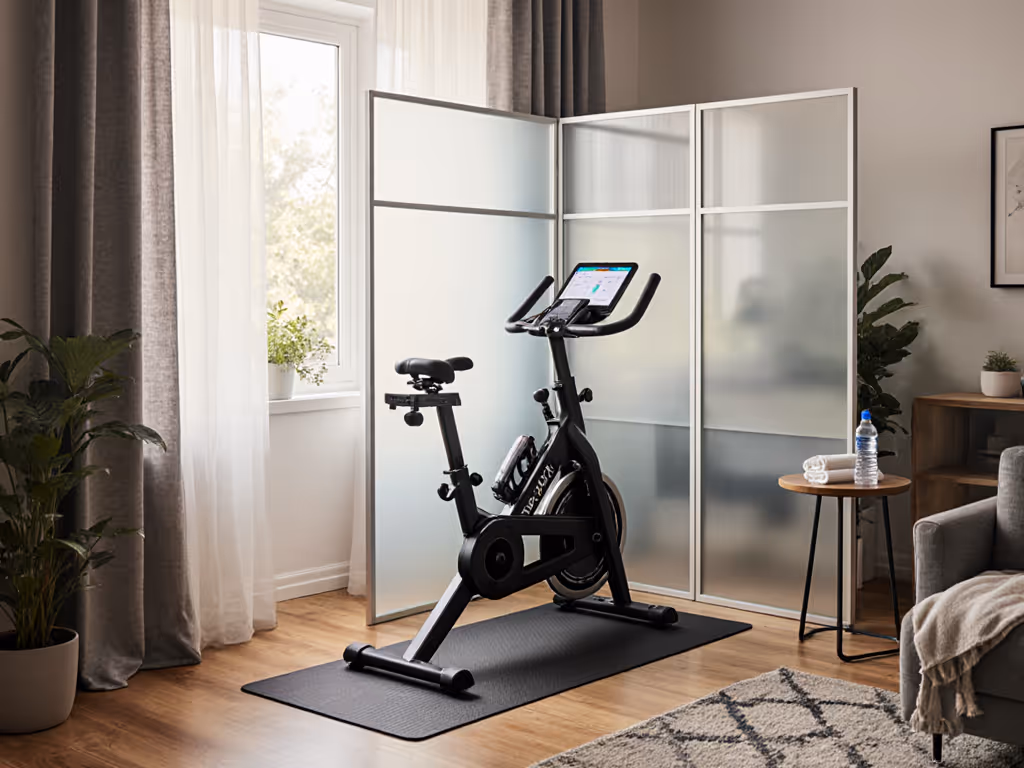
Creating an immersive cycling experience in your home goes far beyond streaming classes on a screen. It's about designing a home cycling environment that engages your senses, fits seamlessly into your living space, and sustains motivation without disturbing others. Whether you're in an apartment with thin walls or a house with sleeping children, this step-by-step guide delivers a high-fidelity, low-friction setup that aligns with minimalist principles and open standards.
Step 1: Prioritize Silence and Stability
Start with vibration control:
- Place a dense rubber mat (>=8 mm thick) under your bike or trainer to absorb noise and protect floors.
- Ensure your equipment has leveling feet; uneven setups amplify vibrations.
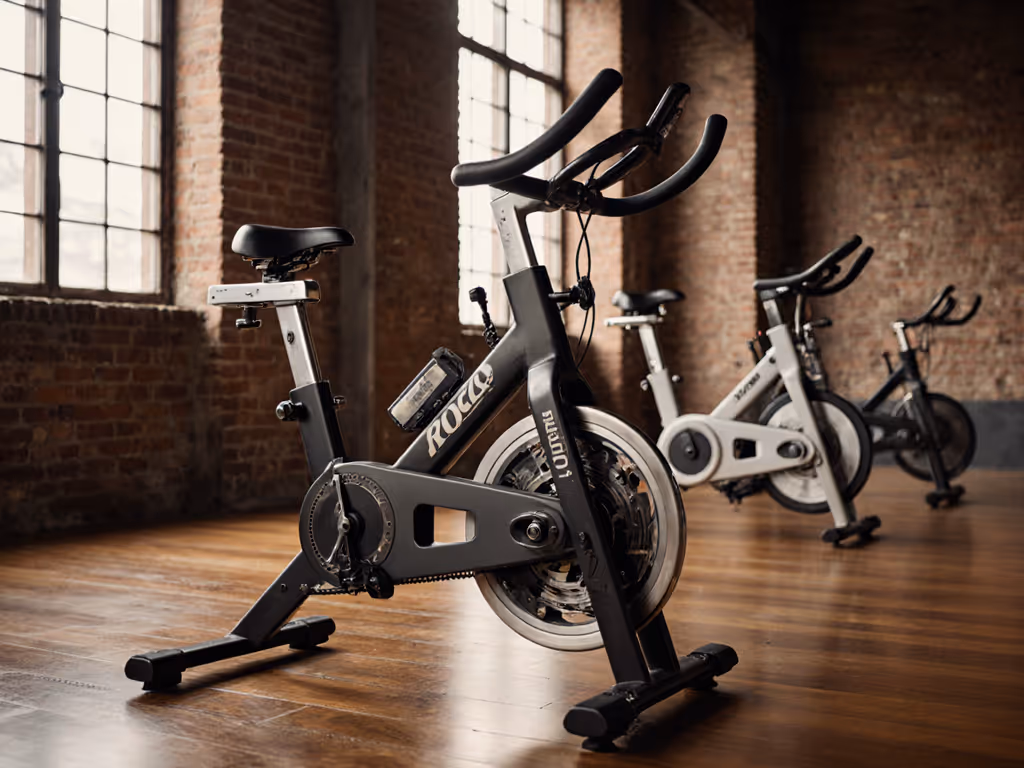
Choose whisper-quiet hardware:
- Direct-drive trainers are quieter than wheel-on models.
- For all-in-one solutions, smart bikes with belt drives (e.g., MERACH's sub-25 dB design) minimize noise while maintaining compatibility across apps.
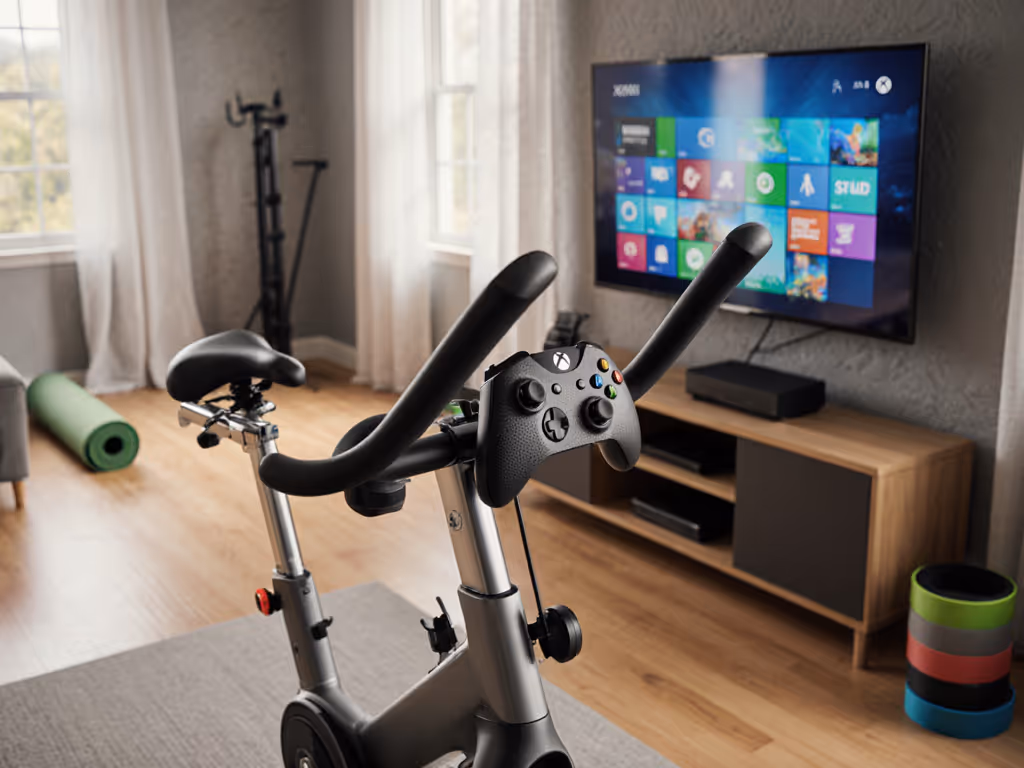
Step 2: Build App-Agnostic Immersion
Ditch single-app dependence:
- Use ANT+/Bluetooth Dual sensors to pair with multiple platforms like Zwift, Rouvy, or TrainerRoad. To compare community features across apps without lock-in, see our social cycling platforms guide.
- Dedicate a tablet for routing (not locked to one ecosystem) and mount it at eye level. Keep this screen uncluttered for quick glanceability.
Enhance sensory engagement:
- Sight: Smart bulbs (e.g., Philips Hue) simulate dawn/dusk lighting for virtual routes.
- Sound: Bone-conduction headphones let you hear ambient app audio while monitoring household sounds.
- Touch: A quiet fan (e.g., Lasko Adjustable Height) provides cooling without roaring.
Step 3: Optimize Compact Footprints
Vertical storage hacks:
- Wall-mount bikes when not in use with pulley systems like Racor. If floor space is tight, explore our small-space exercise bikes to pair compact frames with smart storage.
- Foldable desks hold essentials (towels, water) without consuming floor space.
Stability in tight spaces:
- Triangular-frame bikes resist tipping on uneven floors.
- Check clearance: Allow >=18" between walls and flywheels for airflow and safety.
Step 4: Future-Proof Your Tech Stack
Ensure open-data flow:
- Use sensors with FTMS Bluetooth and ANT+ FE-C (e.g., Wahoo RPM Cadence).
- Sync workouts automatically to Apple Health/Strava via compatible apps. Automations save time and keep your history centralized.
Avoid proprietary traps:
- Standardize components: 9/16" pedals, round seatposts.
- Confirm firmware updates won't brick core functions offline.
Step 5: Personalize for Multi-User Comfort
Universal fit adjustments:
- Look for 4-way seat adjustment (>=8" vertical range) and telescoping handlebars.
- Quick-release levers speed transitions between users.
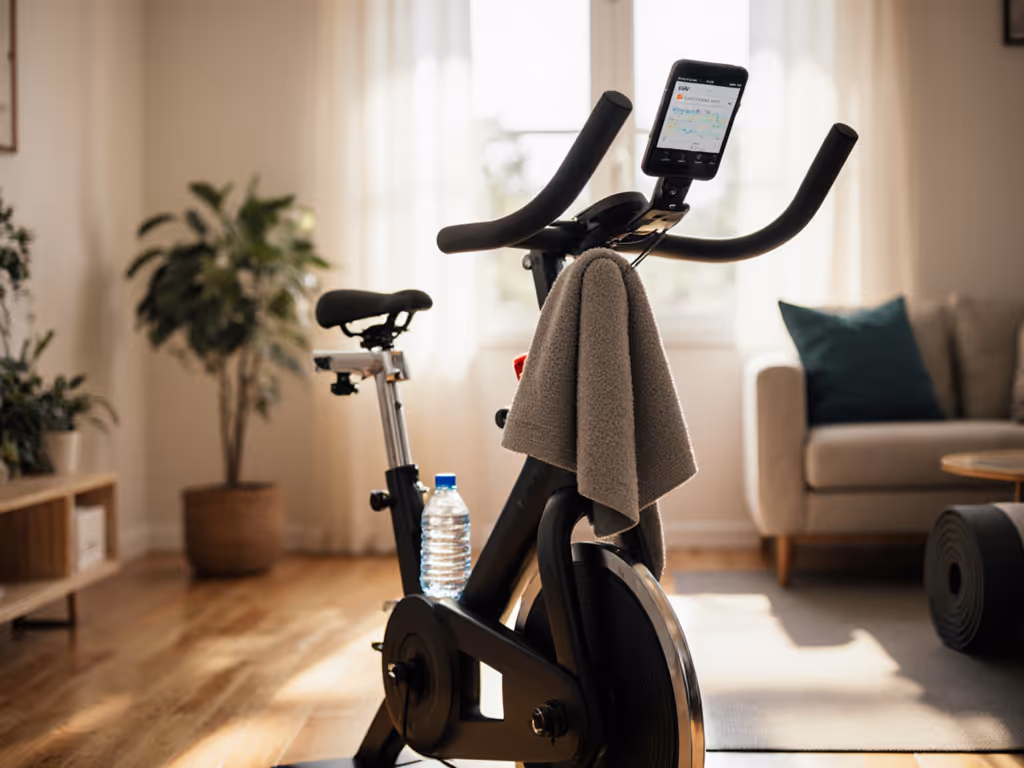
Sweat and comfort management:
- Microfiber towels > cotton; they wick faster and reduce laundry frequency.
- Anti-corrosion sprays protect electronics from humidity.
Step 6: Maintain Longevity and Value
Reduce TCO with standard parts:
- Source replacement belts/pads via third parties. This keeps costs predictable.
- Monthly bolt checks prevent creaks; graphite lubricant silences joints. For step-by-step upkeep and fixes, follow our exercise bike maintenance guide.
Resale prep:
- Keep original packaging for easier resale.
- Document app compatibility lists to attract buyers post-warranty.
An immersive ride isn't about the loudest fanfare, it's about consistency that compounds quietly. I've seen riders transform dormant corners into sweat equity engines using just a tablet, rubber pucks, and three preset routes. Their secret? Start simple, stay consistent. Now, explore one upgrade at a time: try a sensory add-on this week, or test a new app next month. Your strongest routine hides in the frictionless details.
Related Articles