Best Exercise Bike Home Gym Setup: Quiet & Compact Space
By Marta Kowalska • 3rd Oct
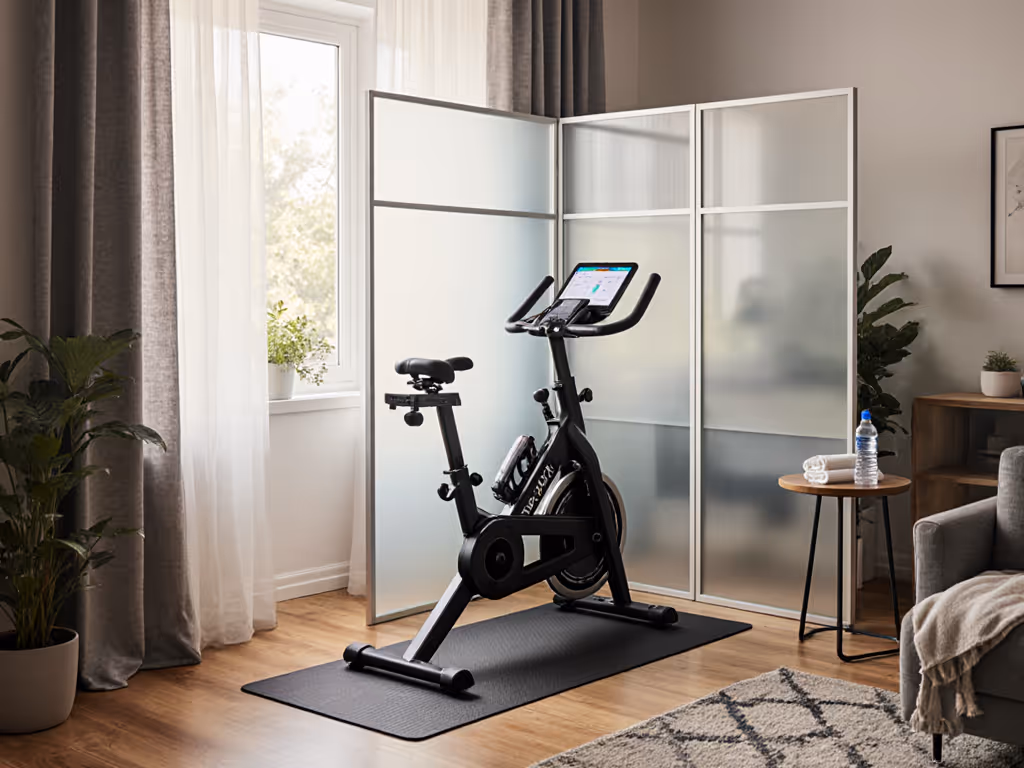
When space is tight and peace is precious (whether you're sharing walls with neighbors or sleeping children nearby), the best exercise bike home gym isn't just about cardio metrics. It is about creating a space that respects your household's harmony. An indoor cycle should whisper, not roar; it should motivate without disrupting. Yet too many riders discover too late that 'quiet operation' claims rarely hold up in real-world apartments. Having diagnosed countless bikes that arrived buzzing like malfunctioning beehives, I've learned that true quiet begins long before the first pedal stroke. Follow this methodical approach to build a genuinely livable home gym that values your sanity and space as much as your fitness.
Step 1: Audit Your Space and Noise Constraints Methodically
Before purchasing any equipment, measure, not guess, your constraints. Use a sound meter app (free options like Decibel X are accurate within ±2dB) to establish baseline noise levels in your intended space at different times of day. Pay special attention to early morning hours when neighbors are most sensitive.
Next, assess vibration transfer points. Place your palm flat on nearby walls, floors, and shared surfaces while gently rocking a chair in your proposed bike location. Can you feel movement? This tactile check reveals what specs sheets won't: how vibrations travel through your building's structure.
Your bike's noise footprint extends beyond decibels; it is vibration transmitted through floors that often causes the most neighbor complaints.
Document your space's dimensions with a tape measure, noting:
- Clearance on all sides (minimum 24 inches recommended for safe dismounts)
- Ceiling height for taller riders
- Distance to shared walls or directly below living spaces
- Power source location (extension cords create trip hazards)
This evidence-based approach prevents costly mistakes. Too many buyers focus solely on bike dimensions without considering swing radius during dynamic riding positions (a critical oversight in compact spaces).
Step 2: Prioritize Serviceability When Choosing Your Indoor Cycle
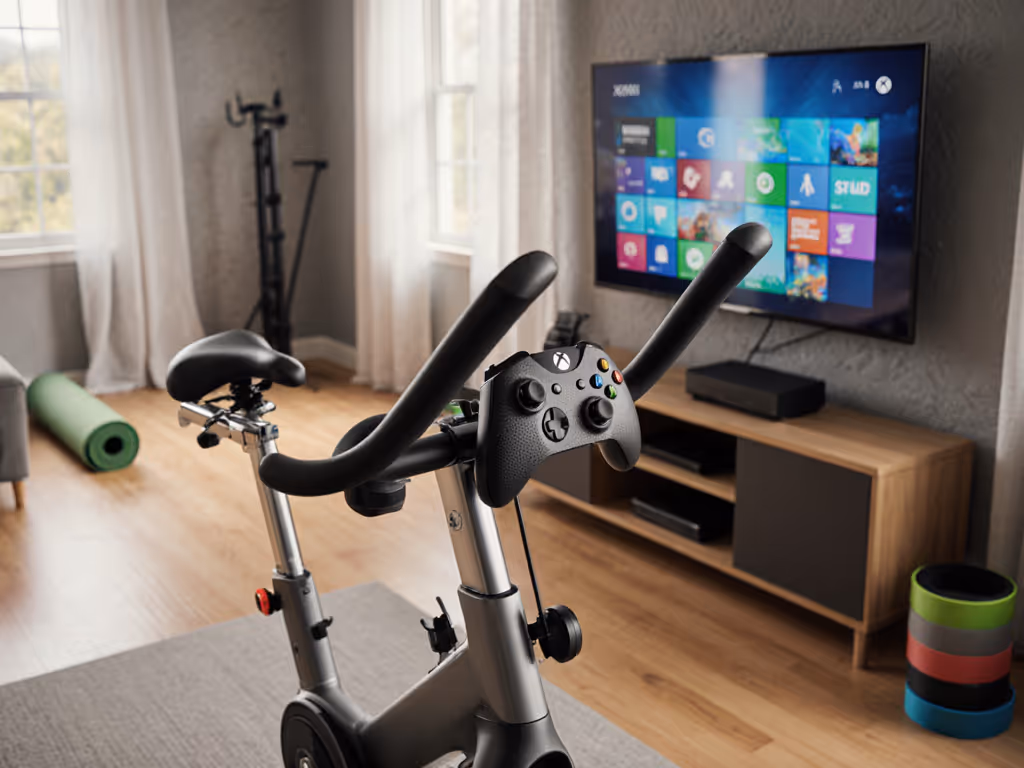
Don't be seduced by touchscreen glitz or subscription promises. Ask three safety-first questions before buying:
- Does it use standard, replaceable components? (9/16" pedal threads, ISO saddle rails, common bearing sizes)
- Is the service manual publicly available with torque specs?
- Can you verify parts availability before purchase?
I once helped a friend revive a 'dead' smart bike that was actually just buzzing due to misaligned bearings and debris in the belt path, a 90-minute fix that saved it from the landfill. But this was only possible because the manufacturer used standard components and published repair documentation. Modular designs with accessible parts mean you control longevity, not algorithms or subscription models.
When researching options, search for '[brand] [model] service manual PDF' before buying. If you can't find it, assume it doesn't exist. Check cycling forums (like Reddit's r/SmartBikes) for teardown posts showing internal components. Magnetic resistance systems generally run quieter than air or friction models, but poor assembly can turn even premium bikes into noise generators.
Step 3: Execute a Precision Setup for Vibration Control
Your assembly process directly impacts noise. This isn't just about tightening bolts; it is about torque sequencing and surface isolation. Follow this tool-specific protocol:
Floor Protection That Actually Works
Most 'exercise bike mats' are too thin to prevent vibration transfer. Use a 1/2 inch thick rubber mat (like those designed for commercial gyms) extending at least 6 inches beyond the bike's footprint. Confirm it is non-marking for hardwood floors (test a small corner first).
Torque to Spec, Not Feel
Even minor bolt mis-torquing creates micro-vibrations that amplify during riding. Use a $20 click torque wrench (not a digital one, less reliable long term) set to manufacturer specs. If no specs exist, follow this evidence-based guideline:
- Seatpost clamp: 5-6 Nm
- Handlebar stem: 6-8 Nm
- Pedal threads: 25-40 Nm (apply anti-seize compound to prevent corrosion)
Tighten in star pattern for multi-bolt components. Recheck all fasteners after 20 miles of riding (critical for belt-driven systems where misalignment creates harmonic vibrations).
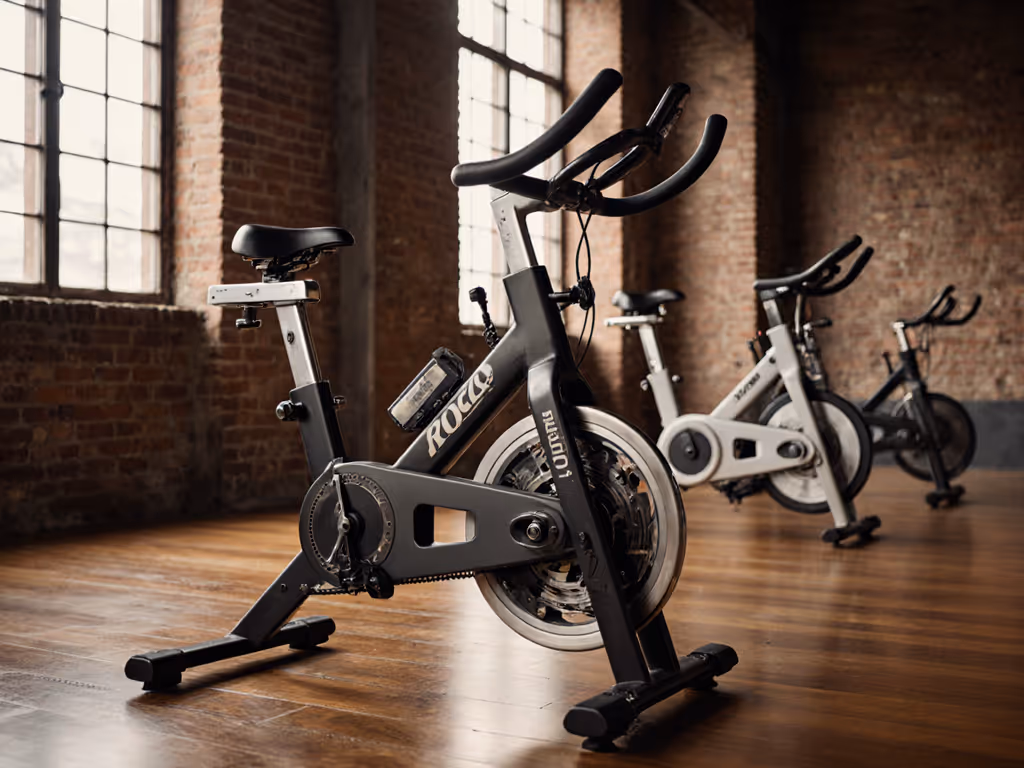
The Flywheel Check
A wobbling flywheel is the most common source of disruptive noise. With the bike stabilized, spin the flywheel by hand and observe its edge against a fixed point (like a tape measure held stationary). Any lateral movement exceeding 1/8 inch indicates misalignment needing adjustment, often a simple bearing tension fix covered in proper service manuals.
Step 4: Create a Sustainable Workout Environment
Cable Management That Lasts
Zip ties create sharp edges that wear through cables during vibration. Instead, use soft, braided cable sleeves secured with Velcro straps, allowing for maintenance access without tools. Route all cables away from moving parts with at least 2 inches of clearance.
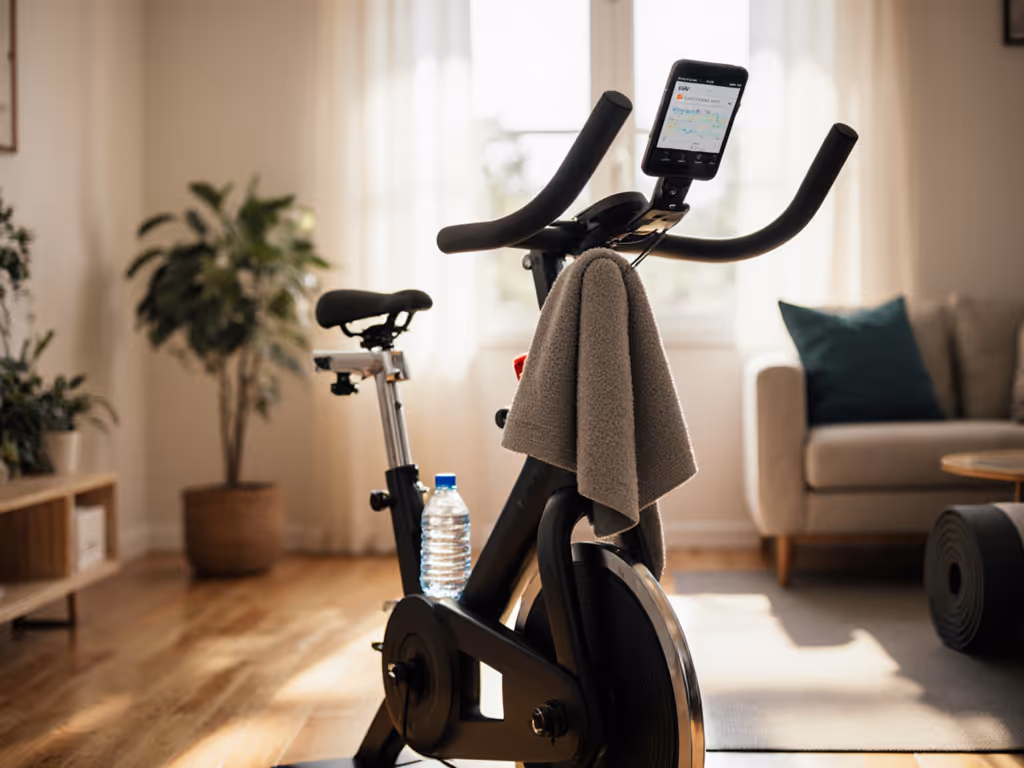
Climate Control for Quiet Operation
Humidity causes belt squeal and component corrosion. Maintain relative humidity between 40-60% using a $15 hygrometer and dehumidifier as needed. Wipe down sweat-prone areas after every ride with a microfiber cloth. Never let moisture pool near bearings or electronics.
Space Psychology
Your environment should motivate without demanding attention. Position the bike to face natural light if possible, but avoid direct sunlight that heats electronics. Use neutral-colored storage for workout accessories to maintain visual calmness. Cluttered spaces increase perceived exertion by up to 15% according to environmental psychology studies.
Step 5: Establish Preventative Maintenance Routines
True quiet operation isn't a 'set and forget' achievement. Implement this quarterly maintenance checklist:
- Inspect belt tension with a deflection gauge (1/2 inch deflection at mid-span is ideal)
- Clean belt path with isopropyl alcohol on a lint-free cloth
- Apply dry lubricant specifically formulated for bike belts (never WD-40)
- Check all fasteners to spec torque
- Test flywheel runout
Fix what fails, prevent what's next: this isn't just my signature phrase; it is the philosophy that turns a noisy nuisance into a reliable household fixture. Document your maintenance intervals in a simple log; when you notice new sounds emerging, cross-reference against your service history to pinpoint root causes faster.
Conclusion: Your Home Gym as a Thoughtful Household Member
The best exercise bike home gym isn't defined by screen size or subscription options; it is measured by how seamlessly it integrates into your life without demanding constant attention or creating conflict. By prioritizing serviceability, executing precise setups, and maintaining methodically, you create a space that respects your home's reality while delivering serious fitness results.
Before finalizing your purchase, ask: Will this still work if the company changes its app policy? Can I fix it with basic tools? Will it fit my space without compromising others' peace? This critical assessment separates temporary solutions from lasting investments.
Want to dive deeper into noise diagnostics? I've compiled a free toolkit including torque specs for major brands, vibration measurement protocols, and service manual sources. Sign up below to receive it. Because true ownership means you shouldn't need permission to keep your equipment running smoothly.
Related Articles